
Mine is finished and ready for this sunday ![]()


yeap, thats the dboys stock ![]() , unfortunately the boneyard K98 I got didnt have a bolt
, unfortunately the boneyard K98 I got didnt have a bolt ![]()
very hard to find one as well ![]()
Mine is really coming along now.
Hopefully will be able to pop up some more pictures soon.
Don't have access to any machines at my new job so there's no more jumping on the lathe or mill during lunch breaks ![]()
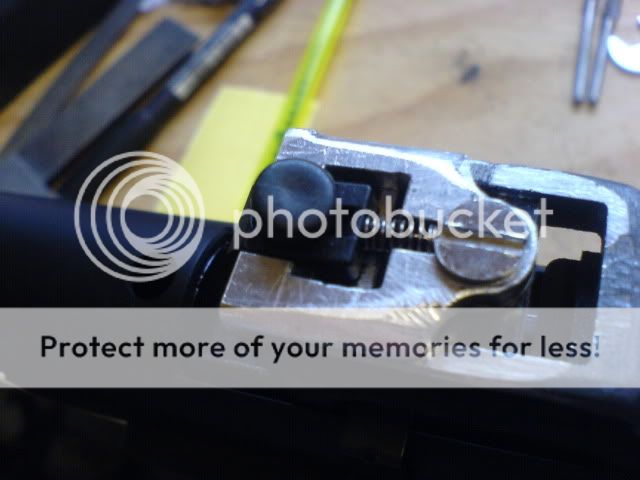
Managed to nearly get the mag release working today, bit more fettling needed but shaping up fine.
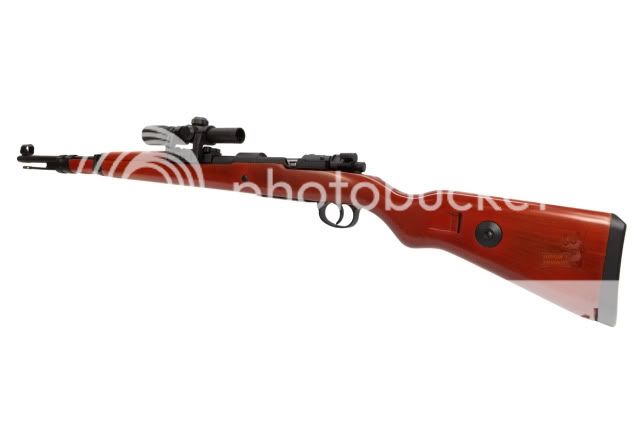
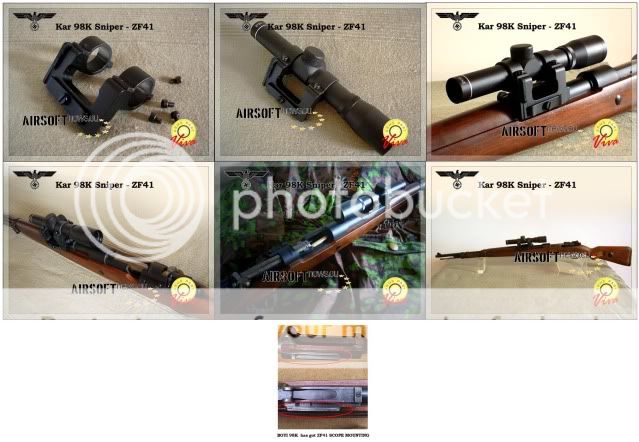
I'm thinking of trying to find one of these scope mounts to take a long eye relief pistol scope:
Did quick google but turned up only old pages of info. 
Any ideas?
Skipped about a bit on progress today as I got carried away and battery in camera went flat. But here's some more anyway.
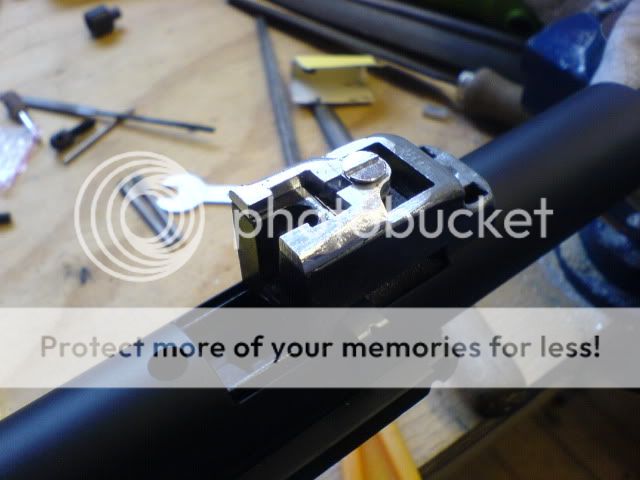
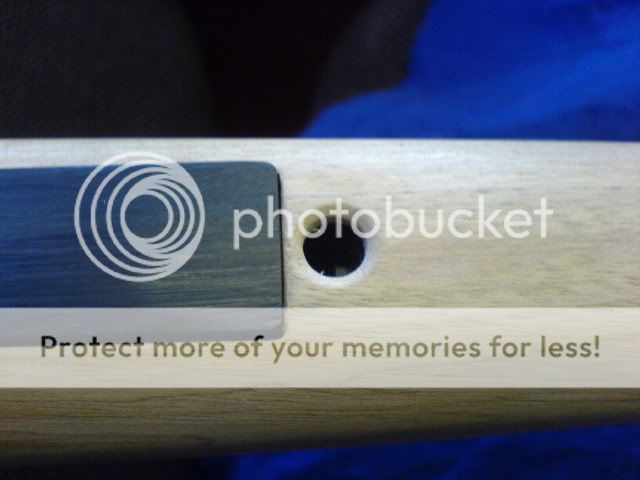
To start with the Rear Iron sight is now fitted! Its riveted and bonded on with P38 body filler. Its actually a very strong bond it you clean and rough up the area first. Plus, if you accidentally got it on incorrectly, push come to shove you could prob beat it off carefully and start again.
No pics but will sort some out soon.
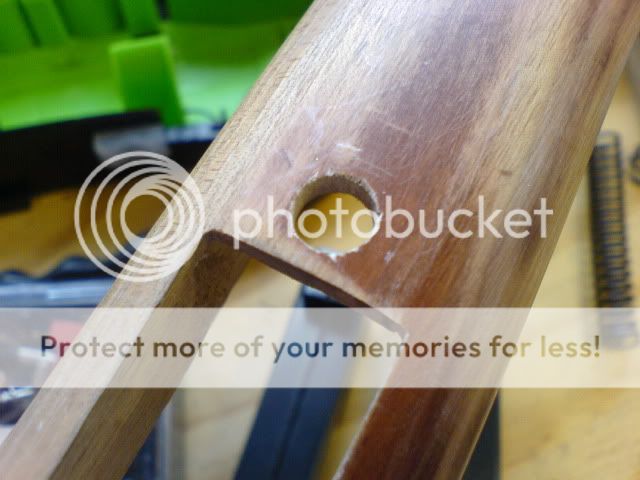
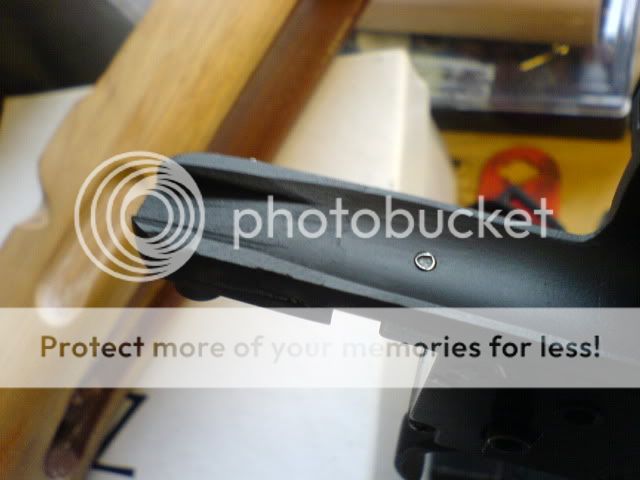
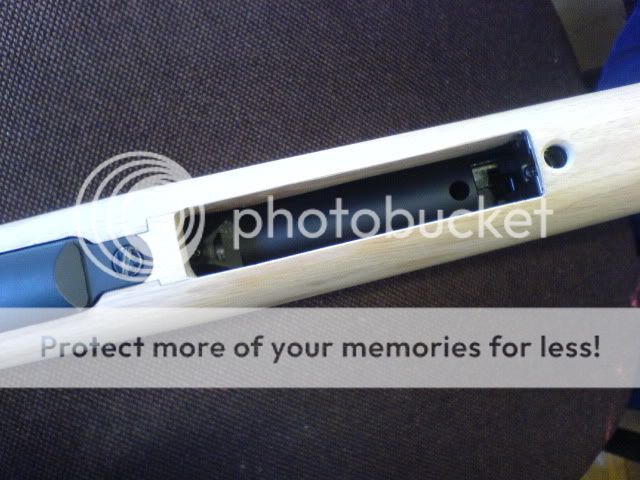
Began finishing the mag hole off too. Had an accident with the original cutting, so had to find a bit of wood that was similar and glue it in.
I'm not 100% happy with it, but then I'm never 100% happy with my work. My other half says I'm too critical... ![]()
Hole now actually countersunk, but here's a before pic.
Repair section.
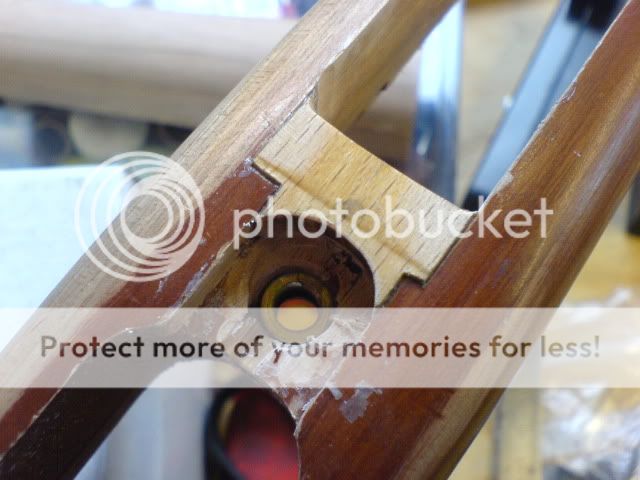
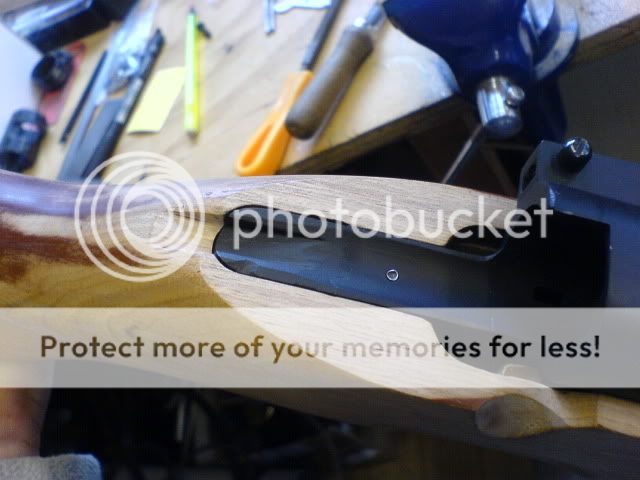
I have cut the stock out far too much under the hopup unit, so to correct this I had to fit a metal plate.
This one is a trial to see if it would work, then I was going to make one a bit more "Prettier" ![]()
Also made metal extension to the reciever complete with rivnut for fastening it down the original stock hole.
Then covered it with Metal putty and filed it a bit. Had another accident and chipped a corner off, but want to get it finished and tested out so just painted it. ![]()
Note gaps further forward in this pic where I rushed the filing of the reciever and then realised my mistake. Might fill it in with a bit of wood.
Also found this pic showing the mounting of a 2x20 pistol scope:
So I've decided to do the same and bought a PAO 2x20 long eye relief scope from my local gun shop.
Trial fitted to my revolver: ![]()
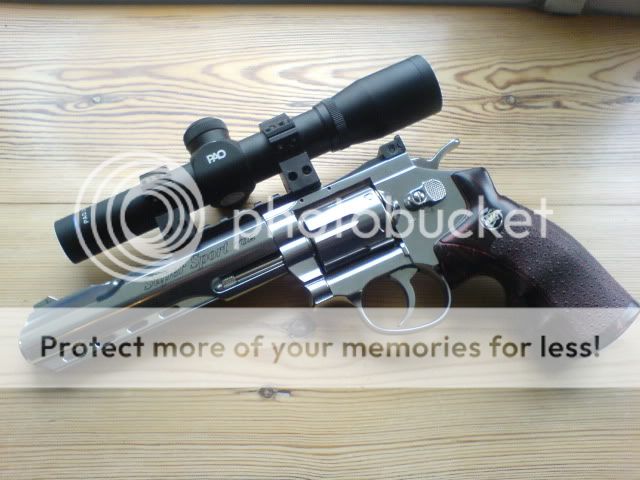
Should look something like this when I've made a mount:
That's all for today unfortunately.
Thanks mate! I just get close to finishing things then rush and make silly mistakes!
Idiot!
Haha far too many compliments ![]()
But thanks mate!
I'm back on 12h day shifts again from tomorrow so won't be able to get anything done of an evening for a while ![]() Really wish I could just spend the time on it. Been sketching up that scope mount and am trying to work out if I should make it in sections or perhaps try and find access to a mill or ask/pay someone with one to machine it up for me. Very poor for "Homers" at new place I'm working
Really wish I could just spend the time on it. Been sketching up that scope mount and am trying to work out if I should make it in sections or perhaps try and find access to a mill or ask/pay someone with one to machine it up for me. Very poor for "Homers" at new place I'm working 
On the plus side, with the mag catch working I should be able to test fire it soon with the original cocking handle/bolt combo, just to make sure I've not overlooked anything.
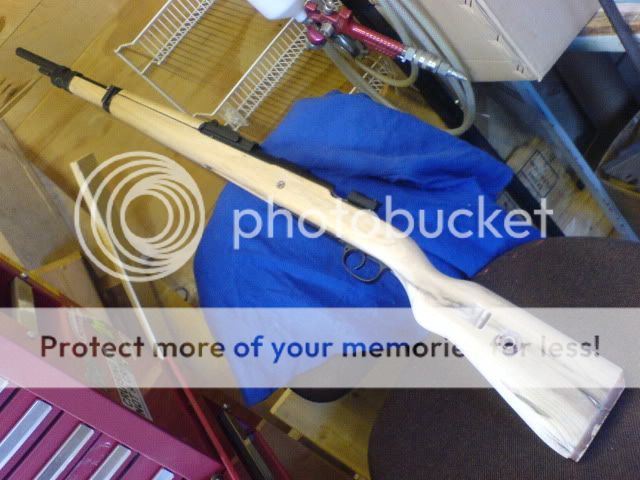
Spent more time yesterday sanding off the crap that the stock came coated in and its finally looking a lot better, even in plain wood!
If I get this finished I can finally make that MG42 I've always promised myself...

Well got a bit more done. Looking better now.
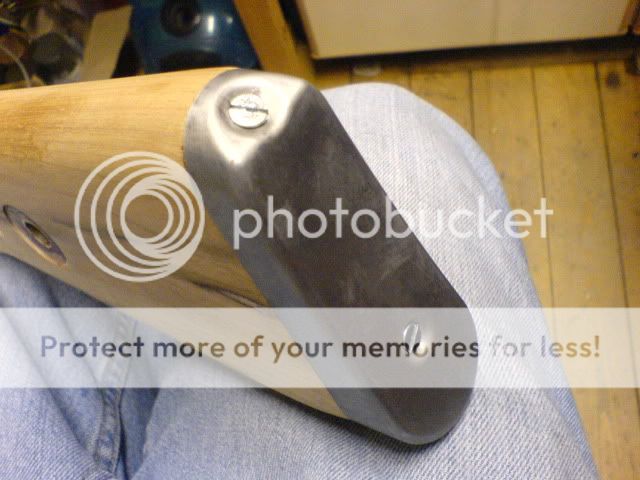
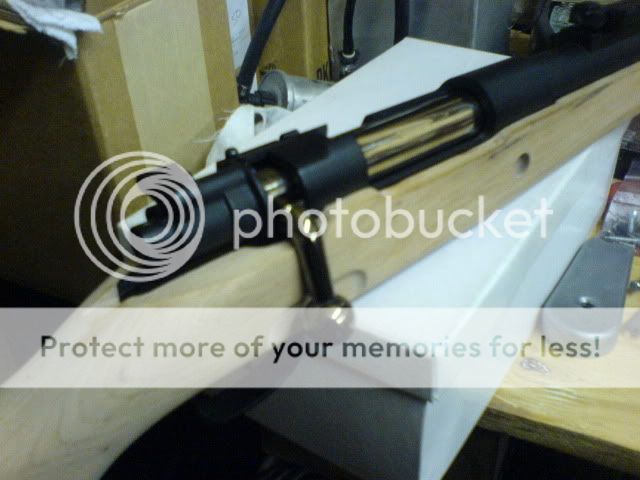
Finally got all the brown crap off the stock and sorted some slot wood screws for the butt plate.
Also got the barrel band to sit better and lock on with the plastic clip (need to get metal made up or find a real one)

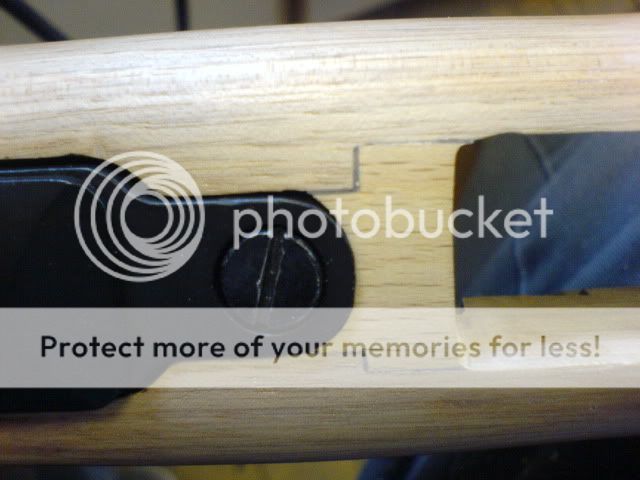
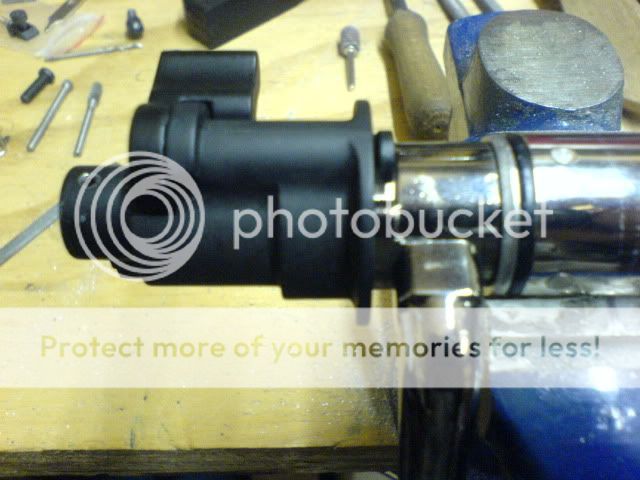
After fitting the hopup lever I'd not left enough of a slot for it to move in so sorted that out.

Looking alright now.
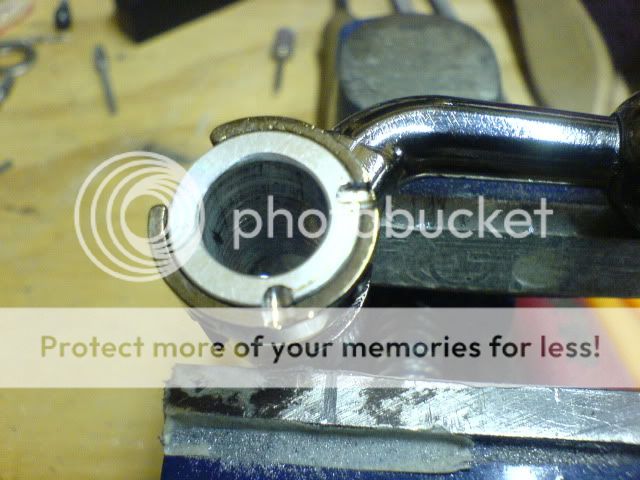
Cleaned the magwell up and also countersunk the release button. You'll also notice I've started sanding down the base of the VSR mags. They don't need much but leaving them square looks stupid. I'll probably try and faux wood them or fit a bit of thin laminate wood onto them instead.
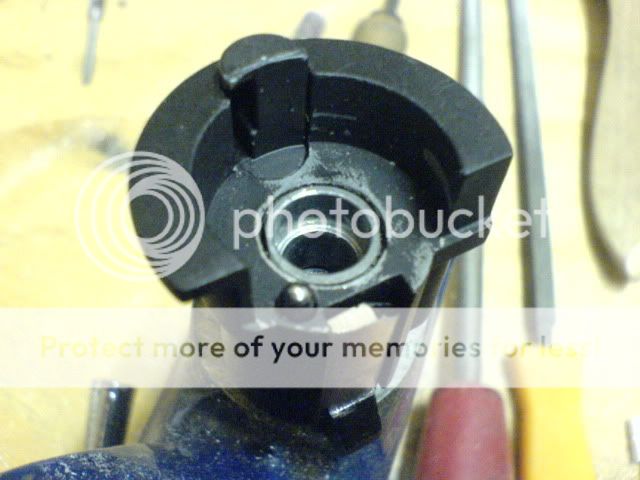
Bolt is also progressing. Threaded the old fake firing pin and added notches to the bolt handle.
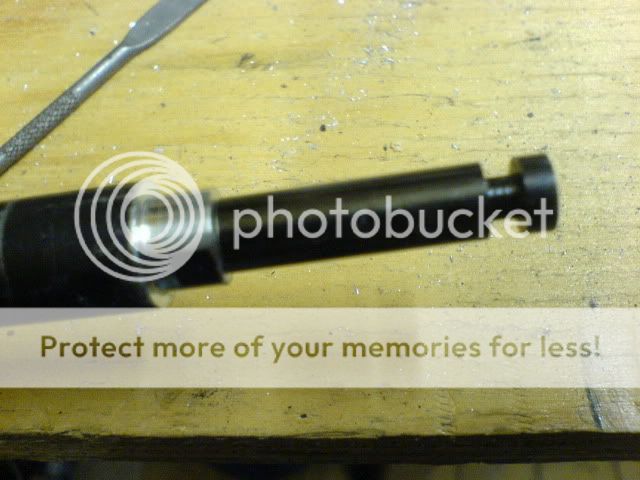
Really coming together now.


Looking good Luke, some really quality precise workmanship there
“I wanted to come to the Volga at a specific location at a specific city. By chance it carries the name of Stalin himself. So don’t think I marched there for this reason – it could carry another name – but because there is a very important goal... this goal I wanted to take – and you know – we are very modest, we have it already."
Adolf Hitler, November 1942
"Comrades, Red Army men, commanders and political workers, men and women guerrillas! It is on your perseverance, staunchness, fighting skill and readiness to discharge your duty to the country that the defeat of the German-fascist army and the liberation of the Soviet land from the Hitlerite invaders depend! We can and must clear the Soviet land of Hitlerite vermin."
Joseph Stalin, November 1942


Thanks mate, you say that now, but I've made a right hash of the bloody magwell hole
Will put up a pic later but I'm kicking myself at the moment over it.

Wow
great job


Progressing nicely ![]()
A Proud Member Of 'Team Spleen!' who play mainly at Gunman Airsoft, Tuddenham, Suffolk.


Had some set backs and working on other projects due to the better weather but have made some more progress, can't get the pics off the mobile at the mo, but I'll keep trying!!!
Watched some band of brothers and got back out in the workshop 
Right another cop-out post with no pics... ![]()
A friend of mine is busy staining and oiling the wood up "awl-purdy-like" while I'm away working.
Hopefully when back I can collect it, fit the internals and then screw it together and it'll be done! ![]()
THEN pictures will follow and hopefully a game or three!
hit a bit of a stumbling block with mine guys so some advice would be greatly appreciated. everything is cut out and set i just need to sort a mag release catch out without breaking the wood as it will have to be cut thin. so thats what i'm needing a helping and with
it's only a first attempt at any custom rifle so its a little dodgy and as soon as its finnished i'll be starting on a second stock to make a better version so i'm not overly bothered if it goes tits up
cheers guys this thread has been very usefull
Tom


im afraid unless you have a router or mill then this is going to be hard to do,probably a dremel and a chisel is the best solution and cut only 1mm at a time when you are nearly there as it really is very thin,the barrel should lay half into the stock and half above when you are there.
armoury
m1a1 Thompson,sten mk2,mp40,stg44,sterling,mk2 bren gun,lee Enfield no4 mk1,Mauser Kar98, Walther ppk,smith and Weston m10 and Mauser m712
Give me a big enough hammer and a place to stand and I could fix the world.
i'll kill a man in a fair fight or if i think he's going to start a fair fight or over a woman or.......
a problem shared is a problem halved ,but an advantage shared is no advantage at all
if a job's not worth doing then its certainly not worth doing well


As mentioned above, its a bit of a fiddle.
I lost access to a mill when I changed jobs so I had to carefully do mine with a dremel and cutting bits.
If I get the chance I'll take a pic of the mess I made but I managed to save it enough so that it works and the outside still looks decent. Although I did have to repair mine at the rear end and one side of the hole as I cut it slightly on the P**s too ![]()
I'd offer you some dimensions but each conversion will be slightly different depending on how forward or back you've positioned your receiver and internals.
It takes time but using a dremel and things like ordinary files and sandpaper can still produce a lovely job. ![]()
Oh, and I'd recommend you work the stock, THEN sand it down for refinishing. I sanded mine back in order to have a bit more "Visual" progress to buck myself up, then cursed every time I put a dirty fingerprint on the nice clean wood! Idiot! ![]()
Hi Like, was gonna put some faux wood on the bottom of my mags but decided against it, fouind it easier to see how many bb's where left in the mag
will have a go tommorow with my day offand my upgrade parts have arrived. so hopefully that will be job done first (and dodgy unless viewed from more than 5 yards) conversion done.
now to find another stock and do a better one
Its a shame I'm finding spare original parts hard to get hold of or I'd probably be making some changes too.
Need to get someone to come up with a CNC program and knock some basic stocks out so we can all mod them ourselves.
I'll keep dreaming ![]()
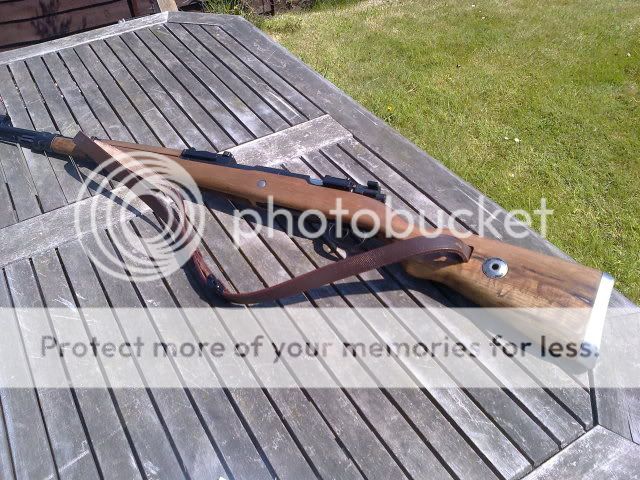
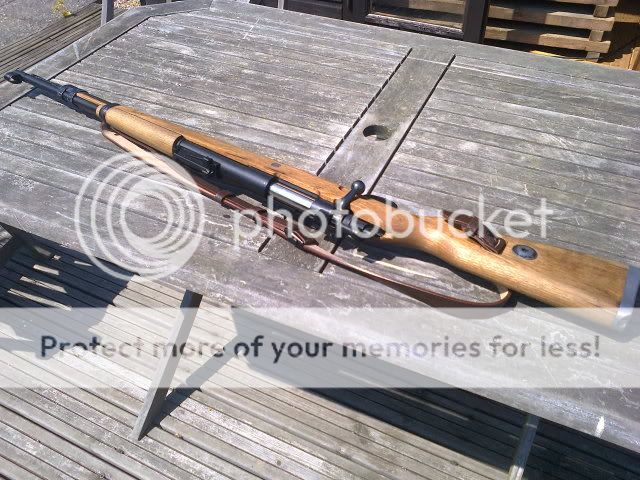
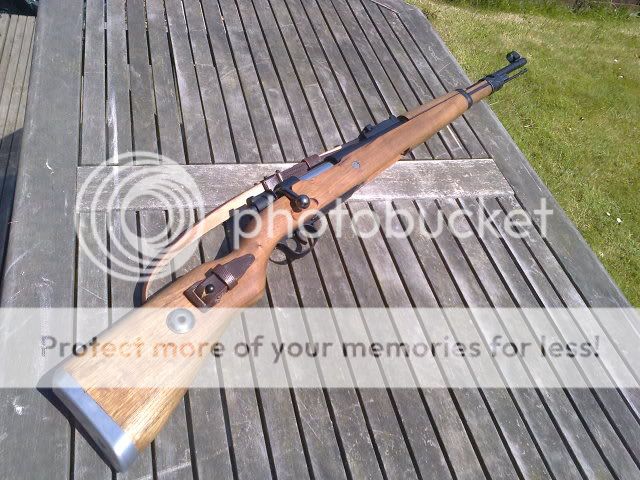
Skipped a bit on progress and pictures but with a wedding to organise I've not been allowed out to play much.
But here it is pretty near finished!
Left to do:
- fettle mags to fit flush
- fit stop to cocking handle so it doesn't spin round
- re-shim cocking handle to line up with cut-out in stock
But otherwise it shoots great at 290fps with the "re-coil shock" weights on the piston, and shoots 360fps without them on. Range is great, hopup adjustment is great and its comfy to use!
Pics:
